
 how-to
How to Prepare for an Electrical Safety Inspection
Table of Contents
- What to Expect During an Electrical Safety Inspection
- Your Electrical Inspection Checklist: Step-by-Step Preparation
- How Long Does an Electrical Inspection Take?
- Common Electrical Code Violations That Fail Inspections
- Safety Requirements for Wiring, Outlets, and Panels
- Smart Home and EV Charger Considerations for Your Inspection
- Post-Inspection Remediation and Budgeting for Repairs
- Frequently Asked Questions
Last Updated: October 1, 2026
What to Expect During an Electrical Safety Inspection
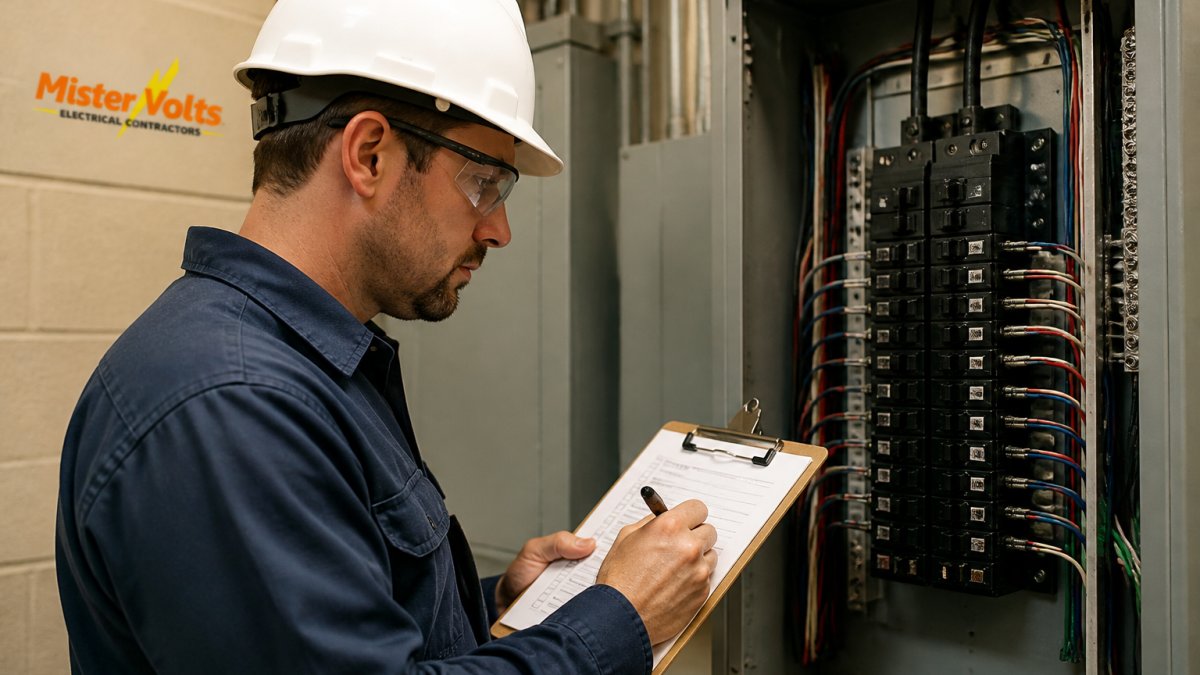
An electrical safety inspection is a formal review of your home's wiring, panels, outlets, and grounding systems against the National Electrical Code (NEC). The inspector then issues a pass or a correction list.
The Three Phases: Rough-In, Service, and Final Inspection
Larger projects pass through three separate phases, not one.
- Rough-in inspection: Happens before drywall goes up. The inspector checks wiring runs, conduit, junction boxes, and fire blocking inside open walls.
- Service inspection: Covers the electrical service, meter, main panel, and grounding and bonding connections.
- Final inspection: The last step. The inspector confirms outlets, devices, GFCI and AFCI protection, and labeling are complete and code-compliant.
Each phase needs its own permit sign-off. Skipping one can stall your project or force you to reopen finished walls.
Your Electrical Inspection Checklist: Step-by-Step Preparation
Use this electrical inspection checklist to get ready in about an hour. The goal: give the inspector clear access and remove anything blocking a safe, accurate look at your system. Work through it in order, access first, then paperwork, then devices.
Access and clearance
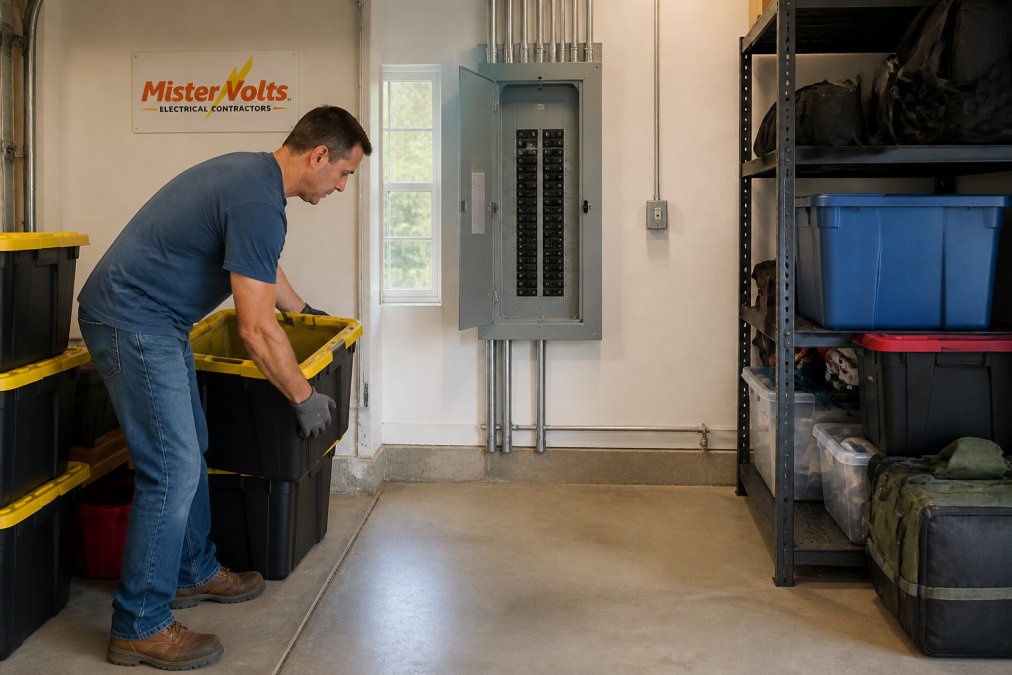
- Clear at least three feet of working space in front of the electrical panel, meter, and any disconnect. The NEC requires it, and inspectors will flag a blocked panel as a violation on its own.
- Confirm the space is clear from floor to ceiling, not just at eye level. Stacked boxes, shelving, and hanging cords all count as obstructions.
- Move stored items away from the panel, meter, and sub-panels. Garages and utility closets are the most common offenders.
- Unlock gates, closets, and crawlspace or attic access doors. If the inspector cannot reach a wiring run, the visit stops there.
- Trim back vegetation or stored goods that block exterior service equipment or meter boxes.
Paperwork and history
- Gather permits, prior inspection reports, and electrician paperwork. If you have had work done, have the permit number and contractor's name ready.
- Note any recent work or new appliances, a new EV charger, hot tub, or sub-panel is exactly the load change an inspector wants to know about up front.
Devices and fixtures
- Test your GFCI and AFCI outlets using the test and reset buttons, and reset any that tripped. A GFCI that will not reset is a finding, not a nuisance.
- Replace burned-out bulbs so fixtures can be checked. An inspector cannot verify a fixture that will not light.
- Check that every junction box has a cover and that no exposed splices are visible in attics, basements, or garages.
Safety and logistics
- Keep pets secured and children away from work areas.
- Plan to have someone over 18 on site to unlock access and answer questions.
Clear Access to Panels, Outlets, and Attics
Access is the number one reason inspections get delayed. If the inspector cannot safely reach a panel, outlet, or attic run, the visit stops there. A common mistake is treating the panel like storage space, that clearance rule exists so anyone can cut power fast in an emergency. Keep it clear year-round, not just on inspection day.
Three access points trip up homeowners most often:
- The main panel. Three feet of clear working space, a clear path to it, and no combustible storage stacked against it.
- Attic and crawlspace runs. Inspectors need a safe path to trace wiring. If the only way in is a scuttle you have to move a water heater to reach, clear that first.
- Exterior service equipment. Meter boxes, disconnects, and service masts need to be reachable and free of vines, fencing, or stored equipment.
How Long Does an Electrical Inspection Take?
A standard residential electrical inspection takes one to three hours. A simple service or final check on a small home often finishes in under two hours; larger homes, older wiring, or multi-phase projects take longer.
Several things push the time up:
- A home with no prior inspection history
- Knob-and-tube or aluminum wiring that needs closer review
- Multiple panels or a sub-panel to trace
- Attics and crawlspaces that are hard to reach
- Any failed item that needs a second look
Common Electrical Code Violations That Fail Inspections
Most failed inspections come down to a short list of repeat offenders. Knowing these common electrical code violations helps you fix small problems before they become red tags.
https://mistervoltsusa.com/contact →
- Missing or improper grounding: The grounding path is broken or bonded wrong.
- Bootleg grounds: A false ground created by jumping the neutral to the ground screw. Outlet testers catch these fast.
- Uncovered junction boxes: Every junction box needs a secure cover.
- Overcrowded panels: Too many breakers for the panel's rated load.
- Missing GFCI or AFCI protection: Required in kitchens, baths, garages, and other wet or high-risk areas.
- Improper wire connections: Loose splices, wrong wire nuts, or damaged insulation.
- No fire blocking: Openings in walls that should be sealed to slow fire spread.
Grounding, Bonding, and Bootleg Grounds
Grounding and bonding are the backbone of a safe electrical system. Grounding gives stray current a safe path to earth. Bonding ties metal parts together so they stay at the same voltage and cannot shock you.
Safety Requirements for Wiring, Outlets, and Panels
Safety standards for wiring, outlets, and panels trace back to the NEC and to OSHA rules for commercial sites. They exist to prevent shocks, fires, and overloads.
Key points inspectors look for:
- Wiring sized correctly for its circuit and protected from damage
- Outlets grounded, polarized, and GFCI-protected where required
- Panels labeled, with no open knockouts or double-tapped breakers
- Proper conduit and insulation on exposed runs
- Adequate clearance and no obstructions around equipment
Smart Home and EV Charger Considerations for Your Inspection
Smart devices and EV chargers add demand older panels were never sized to handle, changing what inspectors look for.
- A Level 2 EV charging station
- Smart switches, thermostats, or whole-home automation
- A hot tub, pool pump, or large shop equipment
- Solar panels or a battery backup system
Post-Inspection Remediation and Budgeting for Repairs
Most guides stop at the inspection. This section covers what to do with the correction list, how to sequence the fixes, and how to budget for them.
Reading the Correction List
A failed inspection produces a written correction list, sometimes called a red tag or notice of violation. Read it in two passes:
- Sort by safety severity. Grounding and bonding defects, bootleg grounds, double-tapped breakers, and overloaded circuits are safety-critical and get fixed first.
- Sort by permit impact. Permit-tied items, rough-in wiring, service connections, final device installation, must be corrected before sign-off. Cosmetic items like a missing panel label or loose cover plate can often wait for the final walk-through.
Sequencing the Fixes
A practical order that most electricians follow:
- De-energize and make safe. Any exposed conductor, scorched device, or overheating breaker gets addressed before anything else.
- Grounding and bonding. These are the foundation of the system. Fixing them first means later tests read correctly.
- Panel and breaker corrections. Double-tapped breakers, missing knockouts, and overloaded panels.
- Circuit-level corrections. GFCI and AFCI protection, junction box covers, wire connections.
- Labeling and documentation. Panel schedules, circuit directories, and permit paperwork.
Doing it in this order avoids re-opening work you already finished.
Budgeting for Common Repairs
Costs vary by region, home age, and access, so treat any number as a range, not a quote. Budget by category:
- Minor device-level fixes, replacing a GFCI, adding a junction box cover, correcting a loose splice. These are typically the lowest-cost items on the list.
- Grounding and bonding corrections, running a proper equipment ground or bonding a metal water line. Cost depends heavily on how far the run has to travel and whether walls are open.
- Panel corrections, adding a breaker, replacing a double-tapped breaker, or upgrading a panel. Panel work is the most expensive common correction because it involves the service equipment itself.
- Service or panel upgrade, if the inspection reveals the service cannot carry the load, this is a major project, not a repair.
Scheduling the Re-Inspection
Once safety-critical and permit-tied items are corrected, schedule the re-inspection with your electrician's paperwork, the original correction list, and any new permits ready. A clean re-inspection usually takes less time because the inspector verifies specific items rather than surveying the whole system.
Frequently Asked Questions
What should I expect during an electrical safety inspection?
A licensed inspector performs a visual examination of your electrical panel, wiring, outlets, and grounding, then runs instrument-based testing such as an outlet tester and voltage meter. For new construction or renovations, the process covers three phases: rough-in inspection before drywall, service inspection at the panel, and final inspection once devices are installed. Most homeowners can expect the inspector to check for code compliance, loose connections, and signs of electrical hazard.
How long does an electrical safety inspection take?
A standard residential electrical safety inspection takes one to three hours, depending on the size of the home and the scope of work. A final inspection on a small renovation may finish in under an hour, while a full service inspection with a panel upgrade and multiple circuits can run longer. Inspectors often spend extra time on load calculations, grounding, and bonding checks for larger electrical systems.
What are the most common electrical code violations found during inspections?
Frequent violations include missing GFCI protection in kitchens and bathrooms, improper grounding or bootleg ground connections, uncovered junction boxes, and circuits without AFCI protection. Other issues include undersized wiring for the circuit breaker amperage, missing fire blocking in wall penetrations, and panels with insufficient clearance or obstructions. Many of these problems are fixable before the inspection with a thorough electrical inspection checklist.
Do I need to be home for an electrical safety inspection?
You do not need to be present the entire time, but someone 18 or older should provide access to the electrical panel, attic, crawlspace, and any locked areas. If you cannot attend, arrange for a contractor or property manager to meet the inspector. Being available at the end lets you hear findings directly and ask about remediation steps, which helps you plan repairs and budget accurately.