
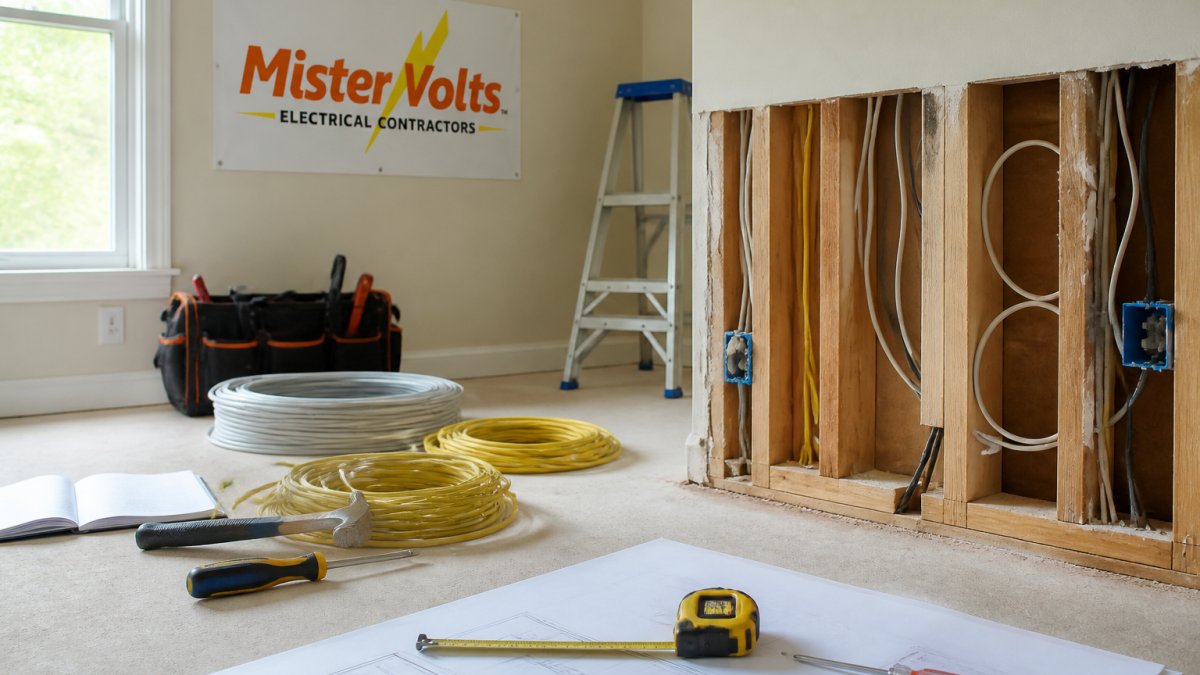
 how-to
Prepare Your Home for Electrical Rewiring: 7 Steps
Table of Contents
- Assess Your Current Electrical System
- Understand Knob and Tube Wiring Replacement Cost and Scope
- Clear Furniture, Access Points, and Plan for Dust Management
- How Long Does It Take to Rewire a House: Timeline and Planning
- Create an Electrical Rewiring Checklist for Homeowners
- Prepare for Living in Your Home During the Project
- Plan Smart Home Integration and Future Electrical Needs
- Frequently Asked Questions
Last Updated: September 28, 2026
Assess Your Current Electrical System
Before you prepare home electrical rewiring, you need to understand what you're working with. Start by identifying your main electrical panel and checking its condition. Look for signs of age, corrosion, or damage. If your home was built before 1970, there's a good chance it still has knob and tube wiring, which is outdated and poses serious safety risks.
Walk through your home and note the locations of all outlets, switches, and junction boxes. Take photos. This inventory becomes your baseline for planning the rewiring project. Check whether your current system uses copper wiring or aluminum wiring. Copper is safer and more reliable, but both types may need replacement depending on age and condition.
Your electrical panel tells you how much power your home can handle. Count the circuit breakers and note their amperage ratings. Most modern homes need 100-200 amps to support appliances and systems. If your panel shows signs of burning, melting, or frequent breaker trips, these are red flags that rewiring is urgent.
Common signs your system needs rewiring:
- Flickering lights or outlets that don't hold devices firmly
- Burning smells near outlets or the electrical panel
- Discolored outlets or switch plates
- Frequent circuit breaker trips
- Knob and tube wiring visible in the attic
Understanding your current setup helps you and your electrician plan the scope of work. This assessment also informs your budget and timeline.
Understand Knob and Tube Wiring Replacement Cost and Scope
Knob and tube wiring was standard in homes built before 1950. It consists of individual copper wires run through ceramic knobs and tubes. This system lacks grounding and insulation by modern standards. When you prepare your home for electrical rewiring, replacing knob and tube wiring is often the biggest part of the project.
The scope of replacement depends on how much of your home still uses this wiring. Some homes have partial knob and tube in attics or crawlspaces while newer sections use modern Romex cable. Your electrician will determine which circuits need replacement based on building codes and safety standards.
Knob and tube wiring creates fire hazards and won't support modern electrical loads. Insurance companies often refuse coverage for homes with active knob and tube systems. Replacement requires running new copper wiring through walls, ceilings, and crawlspaces. This work demands careful planning to minimize damage to your home's structure.
What knob and tube replacement involves:
- Removing old ceramic knobs, tubes, and insulation
- Running new copper wiring with proper insulation
- Installing new junction boxes and connection points
- Updating the electrical panel with modern circuit breakers
- Adding grounding to meet current electrical codes
The actual cost depends on your home's size, the amount of wiring to replace, and how accessible the spaces are. Attics and crawlspaces are easier to work in than walls. Before you prepare your home for electrical rewiring, get a detailed estimate from a licensed electrician. They'll assess the full scope and provide pricing based on materials and labor.
Clear Furniture, Access Points, and Plan for Dust Management
Electrical rewiring work requires electricians to access walls, ceilings, and crawlspaces throughout your home. Clear pathways to your electrical panel first. Remove furniture, boxes, and clutter from the rooms where work will happen. Your electrician needs safe, unobstructed access to do the job efficiently.
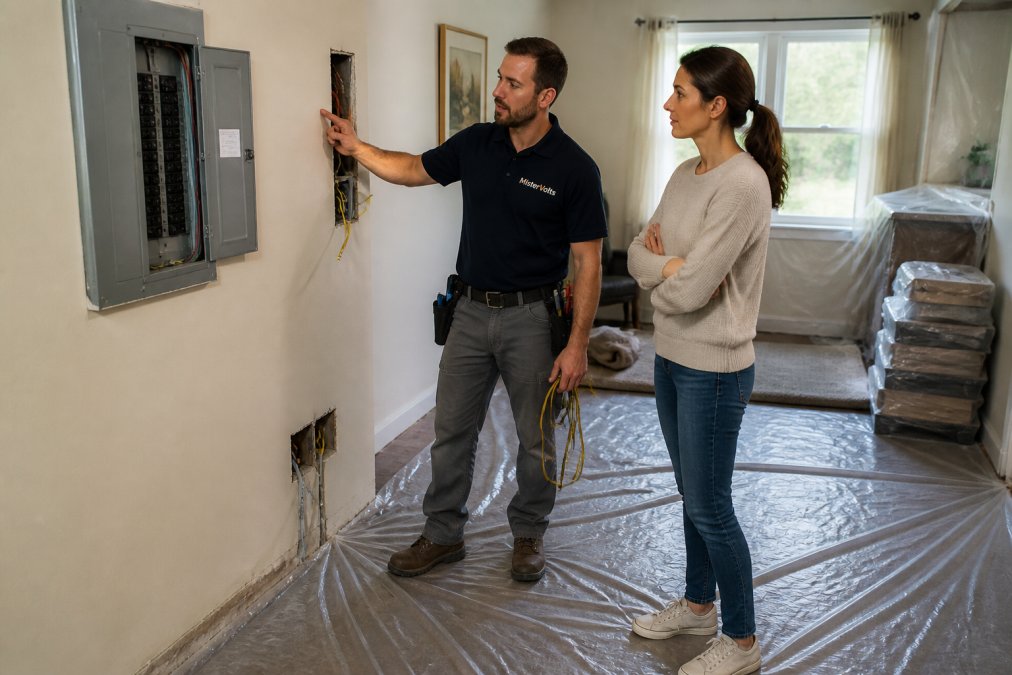
Dust and debris will be unavoidable during rewiring. Drywall removal creates significant dust when walls are opened to fish wires. Protect your furniture and belongings by covering them with plastic sheeting or tarps. Seal doorways with plastic and tape to contain dust in the work areas.
Set up a temporary dust barrier using plastic sheeting and painter's tape. This keeps dust from spreading to clean areas of your home. Your electrician may use a HEPA filter vacuum to manage dust during the project. Discuss dust mitigation strategies when you prepare your home for electrical rewiring with your contractor.
Preparation checklist for access and dust:
- Move furniture away from walls and electrical outlets
- Clear attic and crawlspace areas of storage items
- Protect HVAC vents and returns with plastic
- Set up plastic barriers between work areas and living spaces
- Arrange for a dumpster if significant drywall removal is needed
- Plan for where your family will stay if dust becomes excessive
Ask your electrician about their dust management plan. Professional contractors bring equipment and procedures to minimize disruption. Clear communication about these details prevents surprises during the project.
https://mistervoltsusa.com/contact →
How Long Does It Take to Rewire a House: Timeline and Planning
The timeline for electrical rewiring depends on your home's size, the scope of work, and how much of the system needs replacement. A small home with partial rewiring might take 2-3 weeks. A larger home requiring complete replacement of knob and tube wiring can take 6-12 weeks or longer.
Breaking the project into phases helps manage the timeline. Phase one typically involves removing old wiring and preparing new pathways. Phase two includes running new copper wiring and installing junction boxes.
Typical project phases and duration:
- Assessment and planning: 1-2 weeks
- Drywall removal and pathway preparation: 1-2 weeks
- Running new wiring: 2-4 weeks
- Installing outlets, switches, and fixtures: 1-2 weeks
- Panel upgrade and final connections: 1 week
- Inspection and final adjustments: 3-5 days
Create an Electrical Rewiring Checklist for Homeowners
A comprehensive checklist keeps your rewiring project organized and ensures nothing gets overlooked. Start with pre-project tasks, then move through work phases, and finish with post-project verification.
Pre-project checklist:
- Get quotes from at least 2-3 licensed electricians
- Verify electrician licenses and insurance coverage
- Review building codes and permit requirements
- Schedule electrical permit inspection with your local authority
- Clear furniture and access points in work areas
- Arrange temporary living arrangements if needed
- Notify neighbors about the project timeline
- Take photos of your current electrical system
During-project checklist:
- Confirm daily start and end times with your electrician
- Monitor dust containment and cleanliness
- Document completed work with photos
- Verify that old wiring is properly removed
- Check that new wiring runs follow planned pathways
- Ensure junction boxes are properly installed and accessible
- Confirm circuit breaker labeling matches the plan
Post-project checklist:
- Obtain signed inspection reports from building inspector
- Get a final invoice and warranty documentation
- Test all outlets and switches for proper operation
- Verify that AFCI and GFCI protection is installed where required
- Keep all permits and inspection records for future reference
- Request a copy of the new wiring diagram and circuit layout
Prepare for Living in Your Home During the Project
Most homeowners need to remain in their homes during electrical rewiring. This requires planning to minimize disruption to your daily life. Your family will deal with noise, dust, and temporary power limitations.
Tips for living at home during rewiring:
- Keep work areas separate from living spaces with plastic barriers
- Use a white noise machine to mask construction sounds
- Schedule heavy work phases during times when your family is away
- Stock up on non-perishable food in case refrigerator access is limited
- Arrange childcare or pet care if needed during noisy work phases
- Keep important documents and valuables away from work areas
- Establish a daily communication routine with your electrician
Plan Smart Home Integration and Future Electrical Needs
When you prepare your home for electrical rewiring, you have an opportunity to plan for future needs. This is the ideal time to add circuits for smart home devices, EV charging stations, or upgraded lighting systems.
Future-ready electrical planning:
- Plan conduit runs for smart home wiring during rough-in phase
- Add dedicated circuits for EV charging stations or future appliances
- Install proper grounding for all smart devices and systems
- Verify your new electrical panel has space for future circuit breakers
- Ask about carbon and smoke detector wiring if you want integrated systems
- Discuss electrical maintenance contracts for ongoing safety checks
Frequently Asked Questions
Is it illegal to sell a house with knob and tube wiring?
Knob and tube wiring is not inherently illegal, but many jurisdictions restrict its use in new installations and require replacement during major renovations. Insurance companies often refuse coverage for homes with knob and tube wiring due to fire and safety risks. If you're planning to sell, disclosure is required, and many buyers will demand replacement before closing. Check with your local building authority about your area's specific electrical code requirements.
How long does it take to rewire a house, and what affects the timeline?
The timeline for a complete house rewiring varies significantly, depending on factors such as the home's age, layout complexity, and whether walls need opening. Homes with knob and tube wiring or older construction methods take longer. The electrical contractor must pull permits, schedule inspections, and coordinate with other trades if you're doing a full renovation. Unexpected structural issues or outdated electrical panels can extend the timeline. Ask your electrician for a detailed project schedule upfront.
What should be on an electrical rewiring checklist for homeowners?
Your electrical rewiring checklist should include: documenting your current electrical panel location and capacity, identifying all outlets and switches needing replacement, planning for AFCI and GFCI protection in required areas, scheduling the electrical permit, clearing access to attics and crawlspaces, arranging temporary power solutions, protecting pets and children from hazards, scheduling inspections, and documenting the work completed. Include a section for smart home planning, like EV charging stations or dedicated circuits for future upgrades. Mister Volts can provide a detailed checklist tailored to your home's specific needs.
Do I need to move out during an electrical rewiring project?
Most homeowners can remain in their homes during rewiring, but you'll face temporary power outages as circuits are replaced. Plan for temporary power outages in specific areas, depending on the project scope. If the entire electrical panel is being replaced, your home may lose power for several hours. Protect sensitive electronics, plan meals without cooking appliances, and establish a safe space away from work areas. Families with medical equipment, young children, or pets may prefer temporary relocation. Discuss power management options with your electrical contractor before work begins.